Last December we were lucky enough to get a table at Amass in Copenhagen, and we all were amazed by these fermented potato breads. The staff were great and explained the process to us to try at home. It’s pretty long winded and requires a few pieces of specialised kit, but worth it nonetheless. Apparently, we used to ferment potatoes all the time, as they contain difficult to digest acrylamides which are broken down by the fermentation. Hey, look yesterday I didn’t know what acrylamides were either, and now I’ve even used them in a sentence!
Start off by boiling 2kg of the largest floury potatoes you can find, skins on. This will take some time, probably an hour or so, so amuse yourselves for a little while. Once cooked all the way through, peel from their skins and place in a vacuum bag. add a tbsp of salt, and mash/squash pretty flat. Push as much air out of the bag as you can and vac seal. These bags are going to sit for at least ten days in a warm place fermenting so ensure it’s a strong seal, and you salted the potatoes (which kills off any bacteria). I was a little dubious about serving something that has been sitting at a bacteria bonanza temperature for a fortnight, but they all got wolfed down and if anyone died they at least had the decency not to complain afterwards.
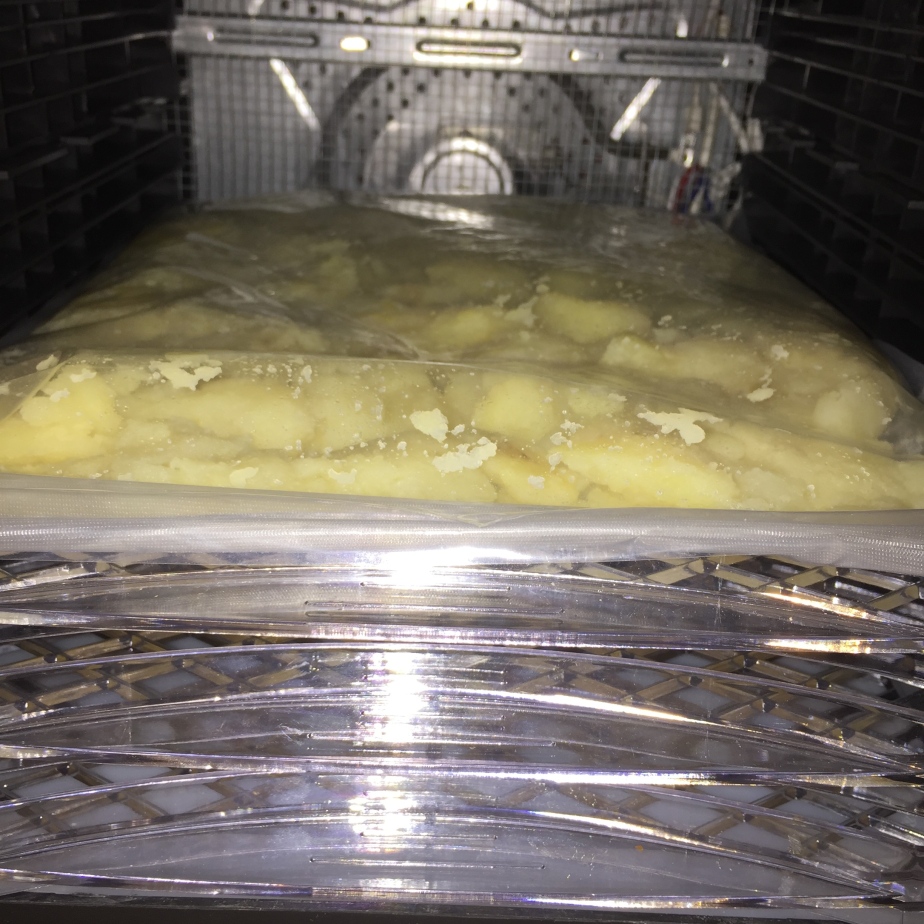
Place the bags in a dehydrator (or airing cupboard at a push?) at 35 degrees celsius and leave them tucked up in there for 10 days. The bag will expand due to the gases being released as the potatoes ferment – this is a good sign!
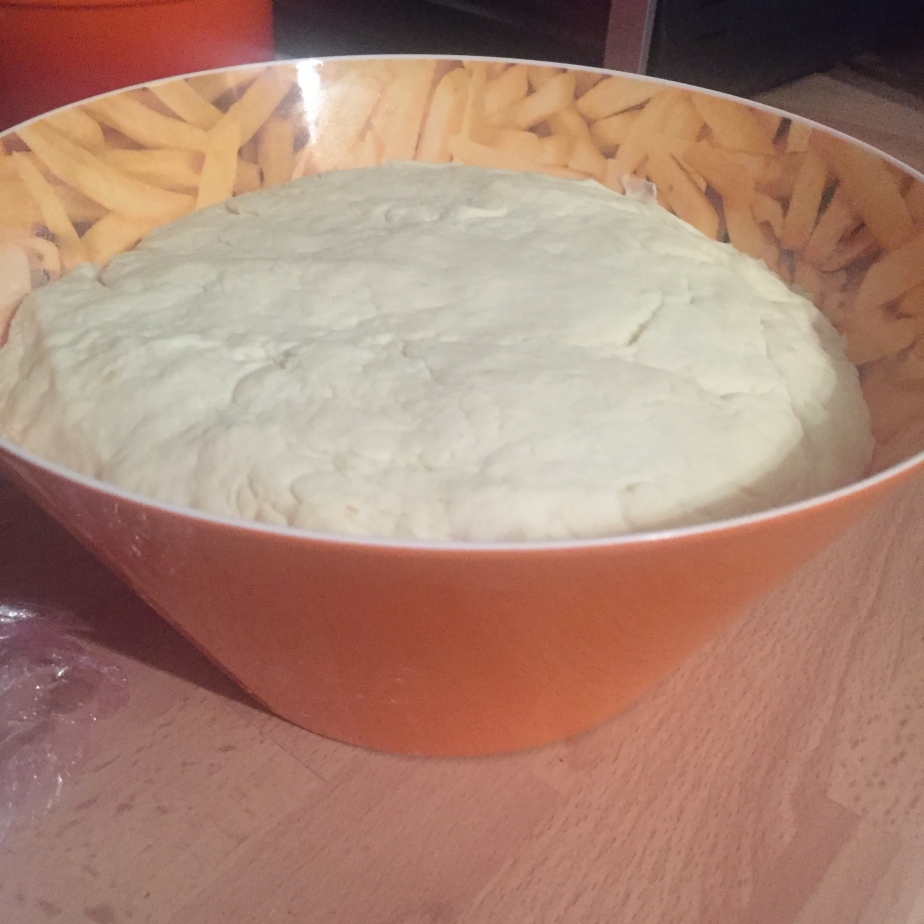
After 10-14 days remove the potatoes from the bag, weigh 1.5kg and add the following 1.2kg plain flour, 50g salt and 0.6l natural yoghurt. No yeast required as the fermented potatoes will provide a rise (and a really tangy taste). Work into a dough, cover with a damp towel/clingfilm and leave somewhere warm overnight.
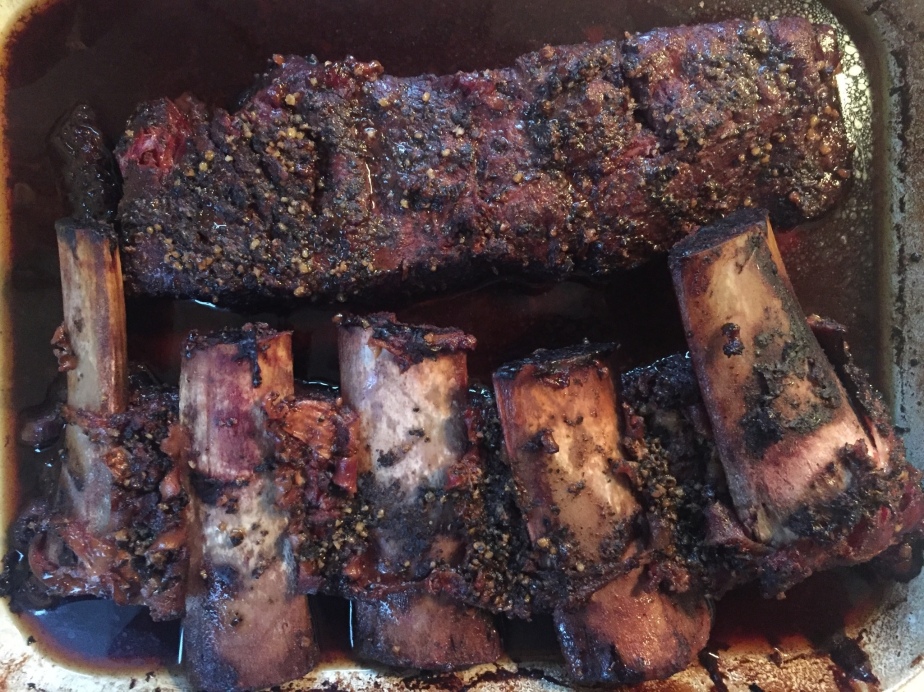
Potatomass and the pit.
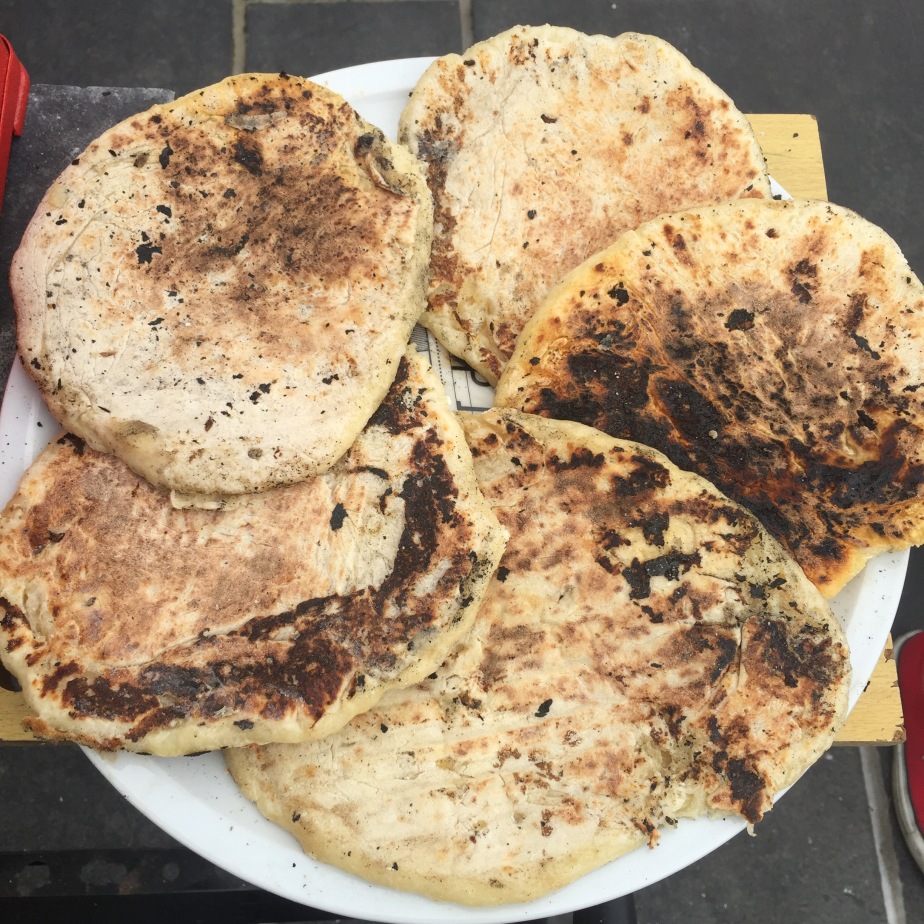
Heat up the hottest surface you can, whether it’s a pizza oven, kamado grill, baking steel, pizza stone, or at a push a heavy cast iron griddle. You’re looking for temperatures above 350 degrees celsius, so pretty hot. Portion off a tennis ball sized amount and roll to 1cm thick and about the size of a side plate. The dough is quite wet, so use plenty of flour for dusting. Optional tip, chuck a handful of coarse dried polenta onto the grill before the dough to add a better crunch (this works great on pizzas too). Sear each side for a few minutes, until a darkened crust forms. Don’t move them around too much, ideally only flip once.
If using a griddle heat up a large burger press and place on top of the bread to improve contact and speed up the time for the outside to crisp up.
These taste incredible, tangy and complex, light and chewy on the inside, and a crisp crunch. Takes two weeks to do it properly, so plan well in advance!
Restaurant link: https://www.facebook.com/AmassRestaurant
Recipe link / blog post: http://aortafood.com/theres-always-a-catch/